Blog

5 Reasons Why Using a Dedicated Camera Is Better Than a Smartphone

April 3rd, 2024

In today’s digital age, smartphones have become ubiquitous tools for capturing photos and videos on the go. However, despite the convenience and advanced technology packed into these devices, there are still compelling reasons to consider using a dedicated camera like a DSLR or mirrorless camera. In my latest video, I explored five key benefits of opting for a “real” camera over relying solely on a smartphone for photography.

Interchangeable Lenses

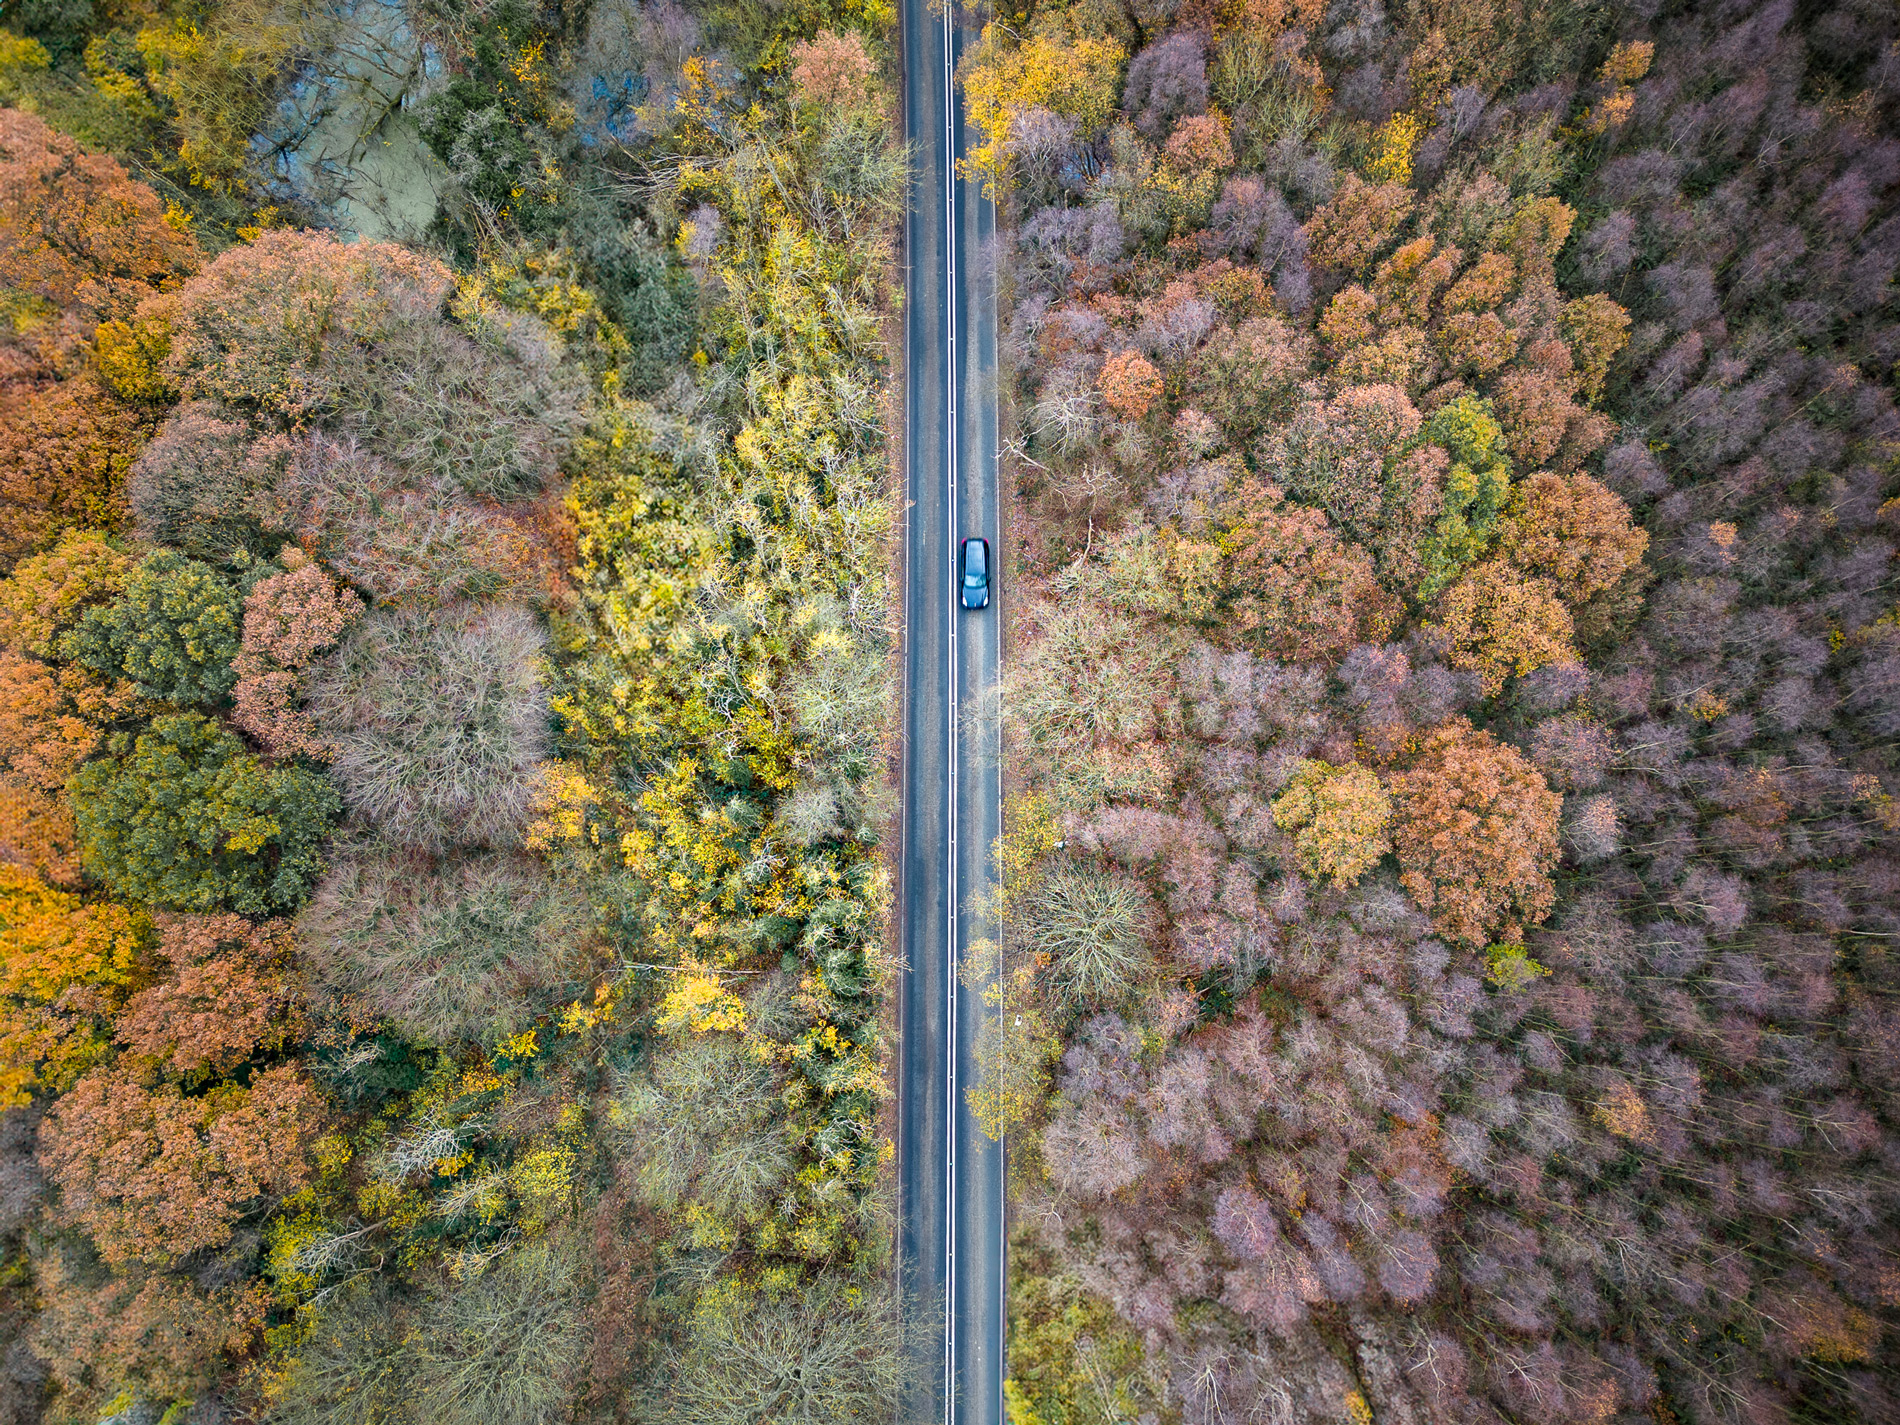
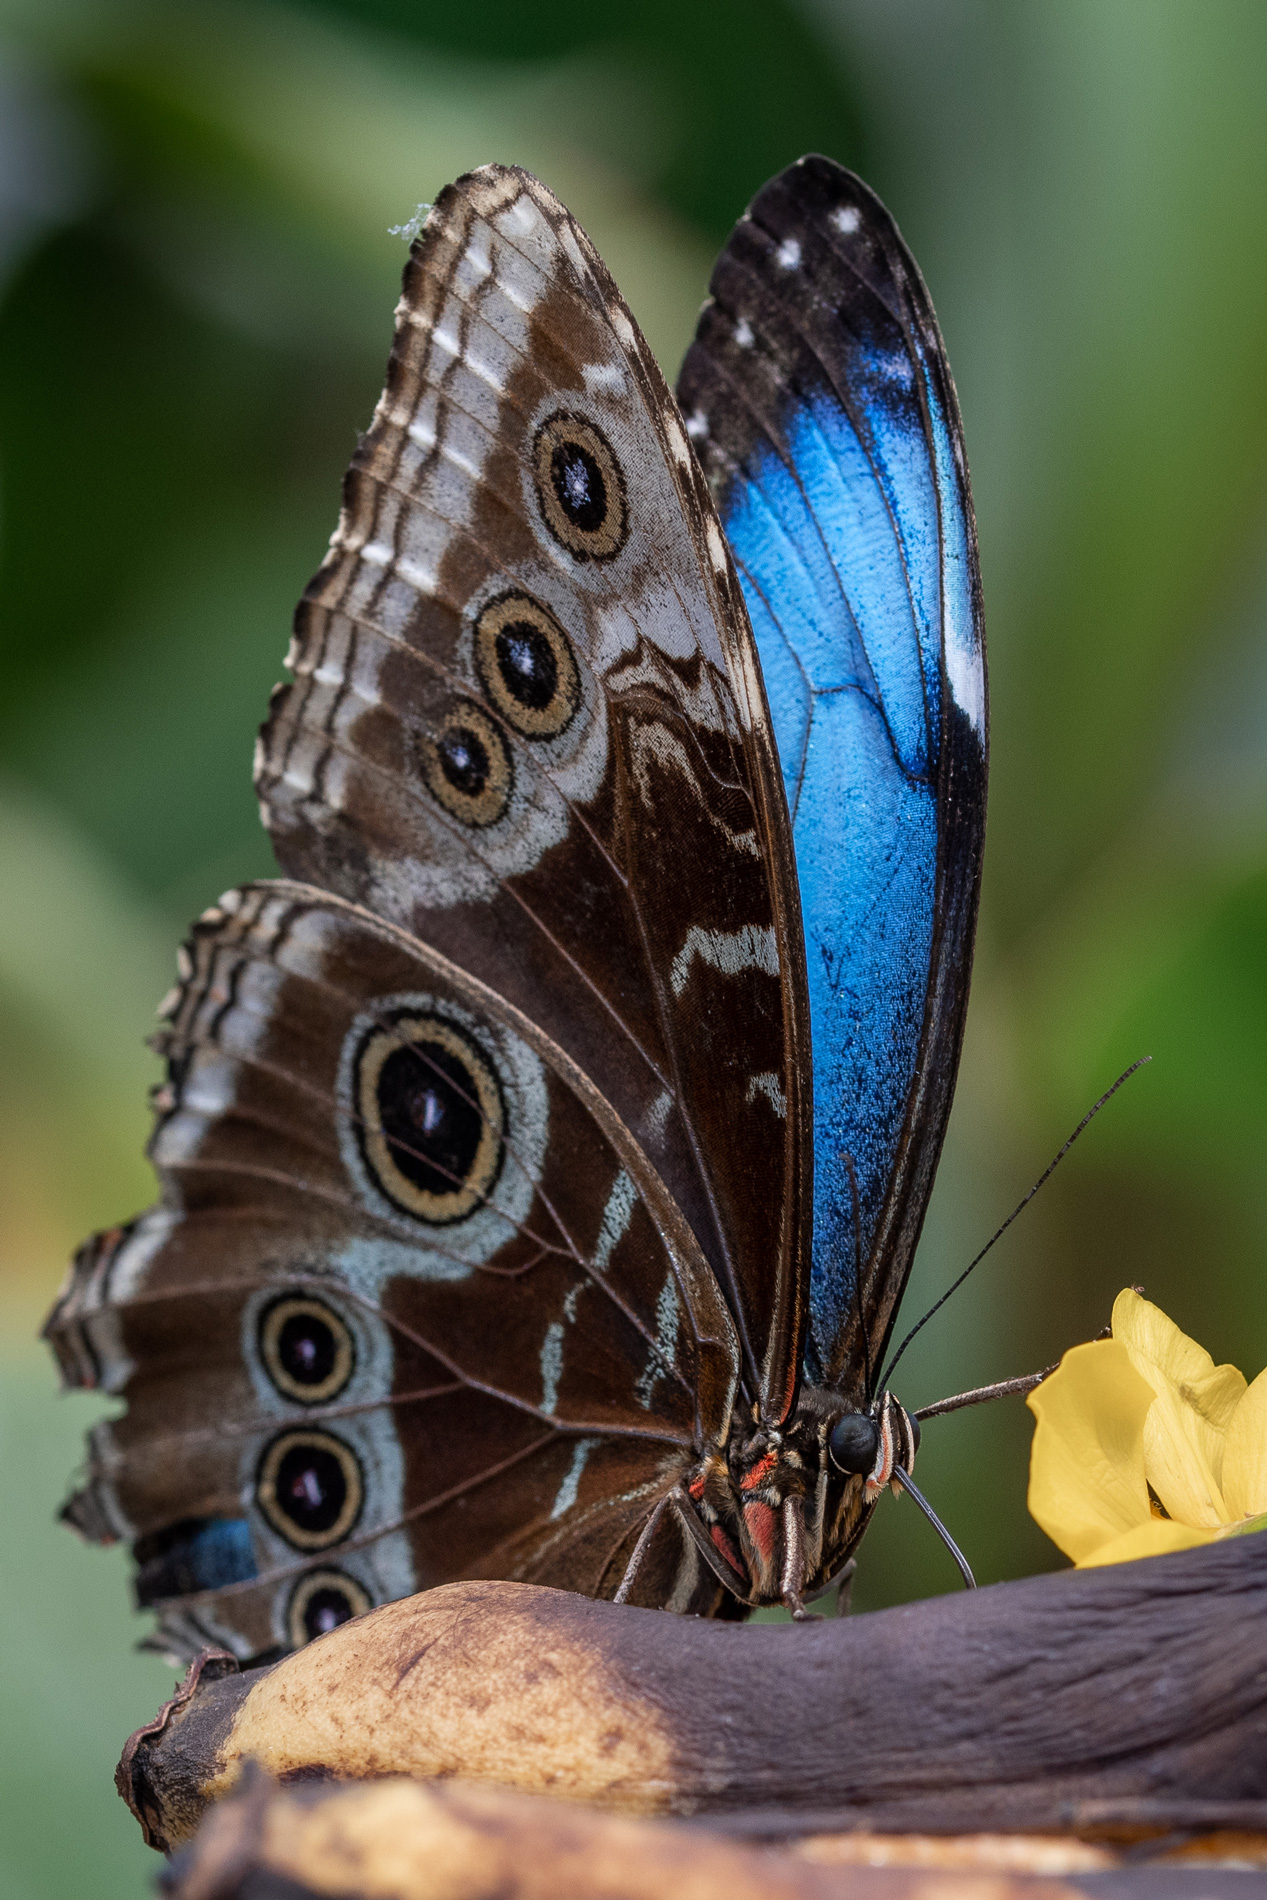
One of the standout features of DSLRs and mirrorless cameras is their ability to use interchangeable lenses. Unlike smartphones, which typically have fixed lenses or limited options for add-on attachments, dedicated cameras offer a vast array of lens choices. Whether you need a wide-angle lens for landscape photography or a telephoto lens for capturing distant subjects, the versatility provided by interchangeable lenses allows photographers to tailor their equipment to suit a variety of shooting scenarios.

Accessories such as Filters

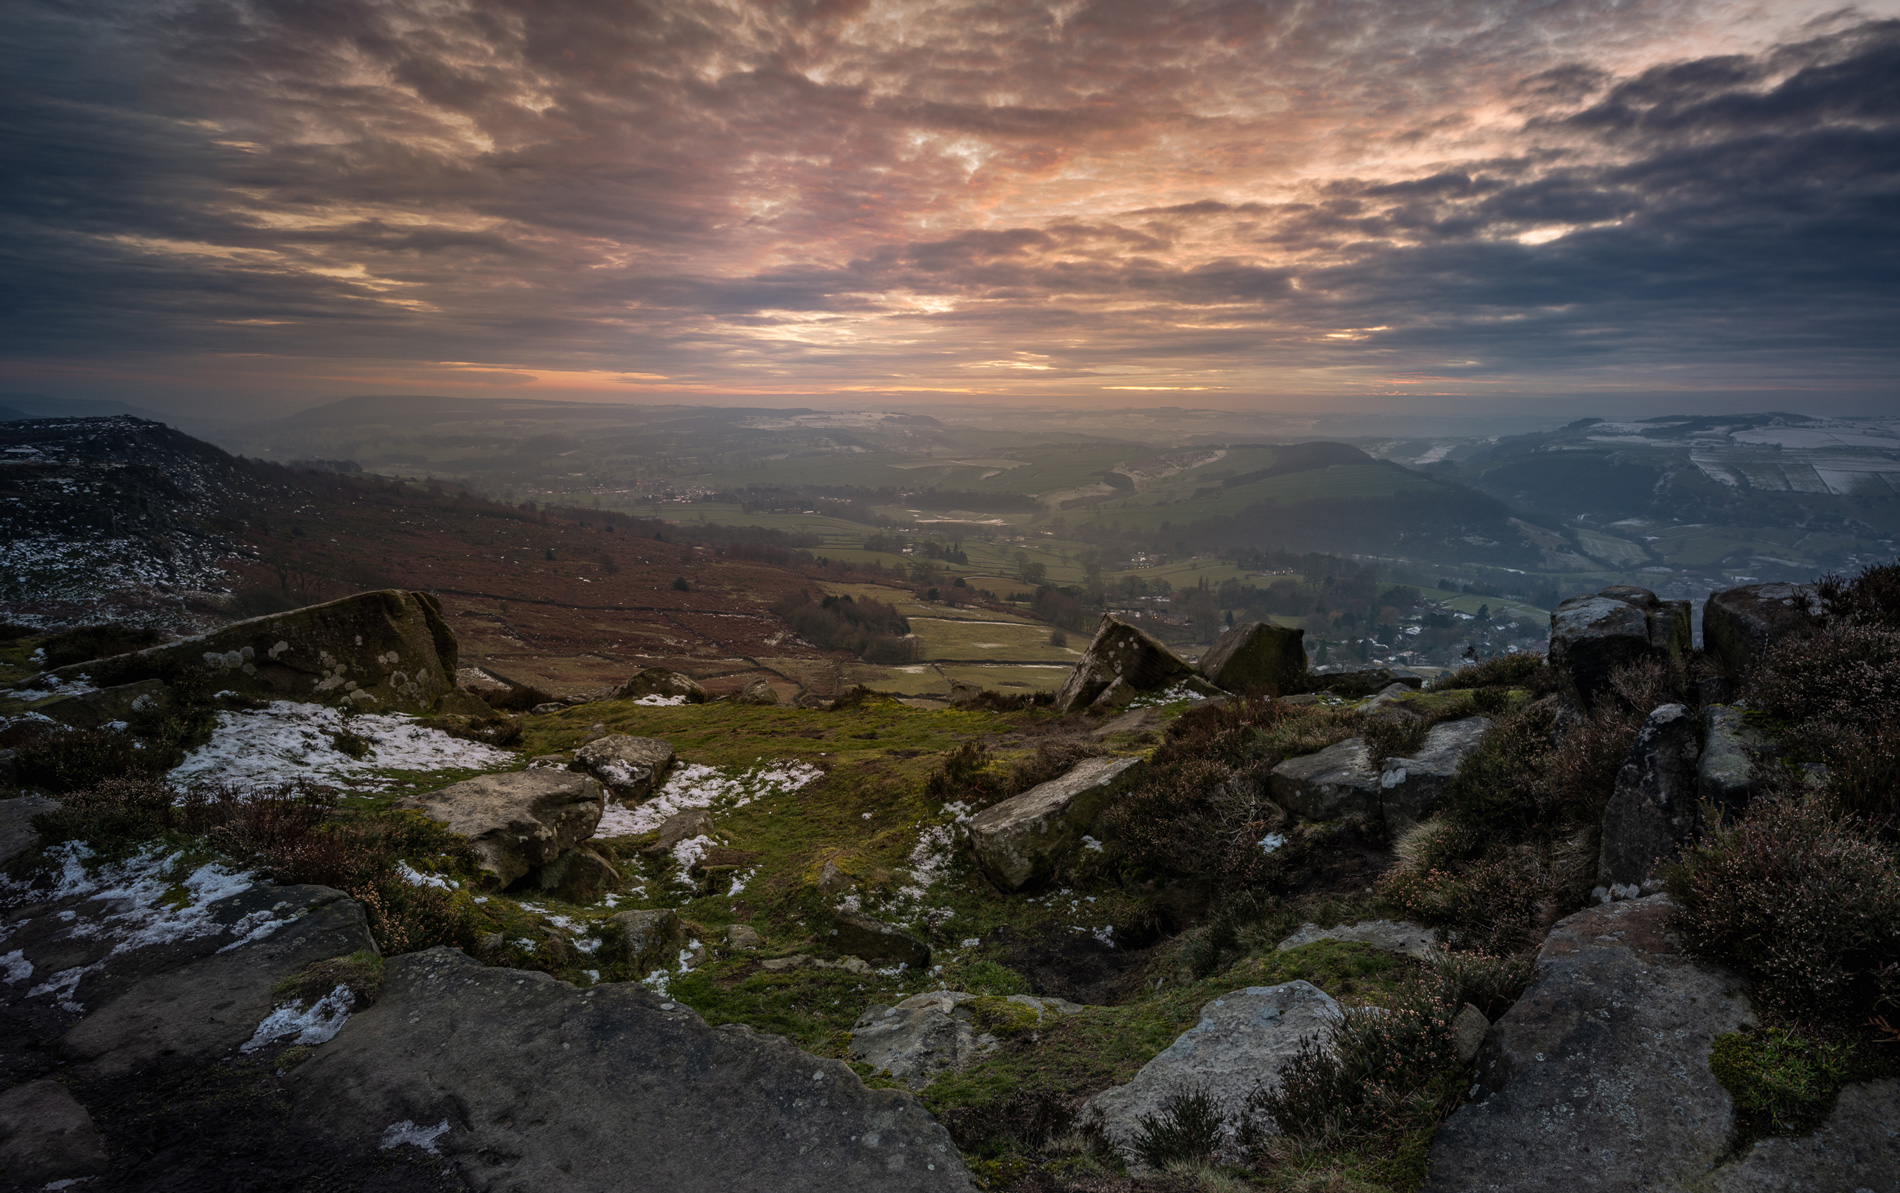
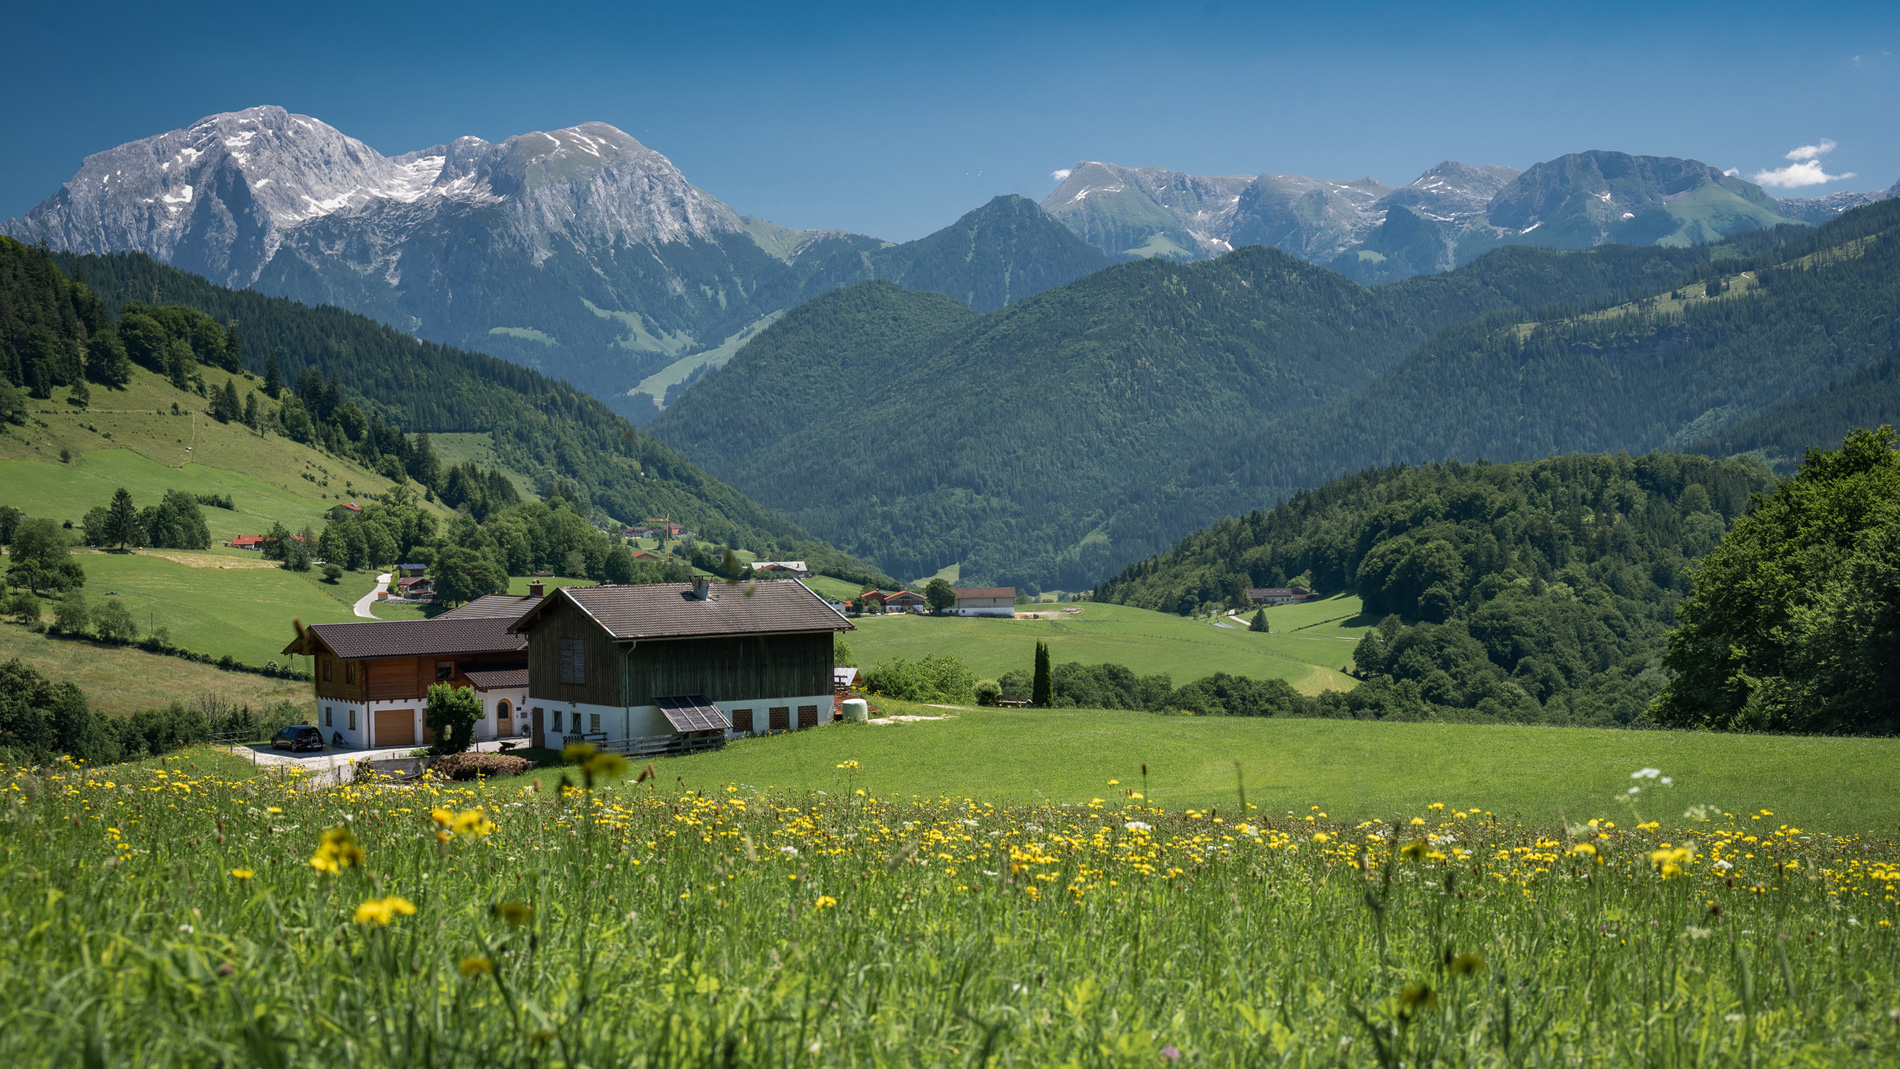
Another advantage of using a DSLR or mirrorless camera is the extensive range of accessories available, including filters, flashes, and other essential photography tools. While there are aftermarket accessories designed to enhance smartphone photography, they often fall short in terms of quality and functionality compared to their counterparts for DSLRs and mirrorless cameras. Accessories like circular polarisers, for example, can significantly improve image quality by reducing glare and enhancing colour saturation, giving photographers greater creative control over their shots.

Control Over Camera Settings

Dedicated cameras offer photographers a level of manual control that smartphones simply can’t match. With the ability to adjust settings such as shutter speed, aperture, ISO, and white balance, users have greater flexibility in achieving their desired look and style. Whether it’s capturing fast-moving subjects with a high shutter speed, slowing it down to create long exposure effects or achieving a shallow depth of field for artistic reasons, the granular control afforded by dedicated cameras empowers photographers to express their creativity with precision.

Ergonomics

The ergonomic design of DSLRs and mirrorless cameras provides a more comfortable and secure shooting experience compared to smartphones. While smartphones are designed for portability and convenience, they can be awkward to hold for extended periods, leading to hand fatigue and potential mishaps. In contrast, dedicated cameras feature ergonomic grips and intuitive button layouts, allowing photographers to maintain a steady grip and focus on composing their shots without distraction.

Printing Photos at Large Sizes

For photographers who value print quality, dedicated cameras offer a significant advantage over smartphones. While modern smartphones boast impressive megapixel counts and image processing capabilities, they often fall short when it comes to producing high-quality prints, particularly at larger sizes. DSLRs and mirrorless cameras, with their larger sensors and superior image quality, deliver sharper, more detailed prints that showcase the full potential of the captured image.

So, while smartphones have revolutionised photography with their convenience and accessibility, there are distinct advantages to using a dedicated camera for serious photography enthusiasts. From the flexibility of interchangeable lenses to the precise control over camera settings and the ergonomic design, dedicated cameras offer a superior shooting experience and unparalleled image quality. So, if you’re ready to take your photography to the next level, consider investing in a DSLR or mirrorless camera and explore the endless creative possibilities that await.

You can check out my video on the subject, below:


Exploring RAW Image Editing with Photoshop Elements

February 26th, 2024

In the realm of photo editing, Adobe Photoshop has long been the go-to software for professionals and enthusiasts alike. However, its accessibility can be daunting for beginners, and the subscription model might be a turn-off for some. This is where Photoshop Elements steps in, offering a one-time payment model and a more beginner-friendly interface. In this post, I navigate the process of editing a RAW image using Photoshop Elements, highlighting its features and comparing them to the full version of Photoshop.

In a recent video I explored Photoshop Elements and its benefits for photo editors. You can watch the video at the end of this article, but here is a summary of what I covered.

The Photoshop Elements Interface:

Upon opening Photoshop Elements, the interface reveals a set of tools on the left, options along the bottom, and three modes at the top: Quick, Guided, and Advanced. Opting for the Advanced mode, will provide you with a layers palette – a crucial feature for advanced editing. The layers palette allows for a non-destructive approach to editing, enabling users to experiment and fine-tune their edits without altering the original image.

Working with Camera RAW:

Before diving into the edits, we need to install Camera RAW, a tool similar to Lightroom that facilitates RAW file editing. While Camera RAW in Photoshop Elements lacks some features present in the full version of Photoshop, it provides a range of powerful tools. Auto adjustments, temperature tweaks, and adjustments to contrast, highlights, and shadows set the initial tone for the RAW image.

Selective Editing in Photoshop Elements:

One drawback of Camera RAW for Photoshop Elements becomes apparent in the absence of selective editing tools that are present in the full version. However, a workaround for this is to use tools within Photoshop Elements itself to emulate the effects of selective editing. Through layer masks and careful adjustments, we can bring attention to specific areas of the image without affecting the entire photograph.

Selective Sharpening:

Selective sharpening can also be very useful, and it’s important to note that not all images require global sharpening. Duplicating layers, applying sharpening filters, and using layer masks enable the user to selectively enhance certain elements of the image, such as foreground details, while maintaining softness in the background.

Emulating HSL Adjustments:

In the absence of Hue, Saturation, Luminance (HSL) sliders in Camera RAW, we cab emulate these adjustments using the Hue and Saturation panel in Photoshop Elements. By individually tweaking colour channels, subtle yet impactful changes can be made to specific elements in the photograph, adding vibrancy and depth.

Creating a Vignette Effect:

To conclude the editing process, a vignette is applied to the image. Using a new layer and the gradient tool, a subtle vignette is created, drawing focus to the central elements of the image. In the video I show the blend mode and opacity adjustments necessary to achieve the desired effect.

Learning from the Experience:

In the final section, the blogger reflects on the experience of using Photoshop Elements for RAW image editing. While acknowledging the limitations, such as the absence of certain advanced tools, the blogger highlights the surprising number of features available in Elements, especially considering its one-time payment model. The verdict is clear: while professionals may stick to the full version of Photoshop, Photoshop Elements provides an excellent, cost-effective option for beginners.

Conclusion:

In the video, I’ve explored the intricacies of RAW image editing using Photoshop Elements. From working with Camera RAW to emulating selective editing and making nuanced adjustments, Photoshop Elements proves to be a powerful tool for those entering the world of photo editing. While it may not replace the full version for seasoned professionals, its accessibility and feature set make it an attractive choice for beginners looking to enhance their photography skills.


Top 10 (Nearly)

January 21st, 2024

At the end of 2023 I posted a video listing what I thought were my top 10 images of that year. I wanted to limit the list to 10, but here are 7 more images that I considered adding, but ultimately left out.

Autumn Colours
Blue Morpho Butterlfy
Curbar Edge, Peak District
A Winter Wonderland
Berchtesgaden, Germany
St. Bartholomew’s Church, Konigsee, Germany
Winter Robin
previous arrow
next arrow

You can see the Top 10 that made it below.


How to print custom page sizes with the Epson XP-970

November 21st, 2023

I have a few photography printing videos on my YouTube channel and one of the questions I get asked most is; How do you set up the Epson XP-970 to print custom page sizes.

It’s actually quite simple, and I’ll explain the steps to do it below. A couple of things to note first though; A. You have to use the rear, manual paper feed and B. You have to print from a computer to the printer (not directly from the printer). I am using Lightroom on an Apple Mac computer, but it should be similar steps when using a Windows PC and/or your software of choice.

(more…)

5 Low Cost Full-Frame Z Lenses

September 24th, 2023

If you own a Nikon Z camera, you’ll know that there are some really great lenses available, particularly the Nikon S-Line lenses. But you’ll also know that they’re quite expensive as well. Here I’m looking at five low-cost, full-frame options, which hopefully won’t break the bank but will still offer some decent performance and quality.

(more…)