Blog

100 Free Textures to Elevate Your Creative Photography
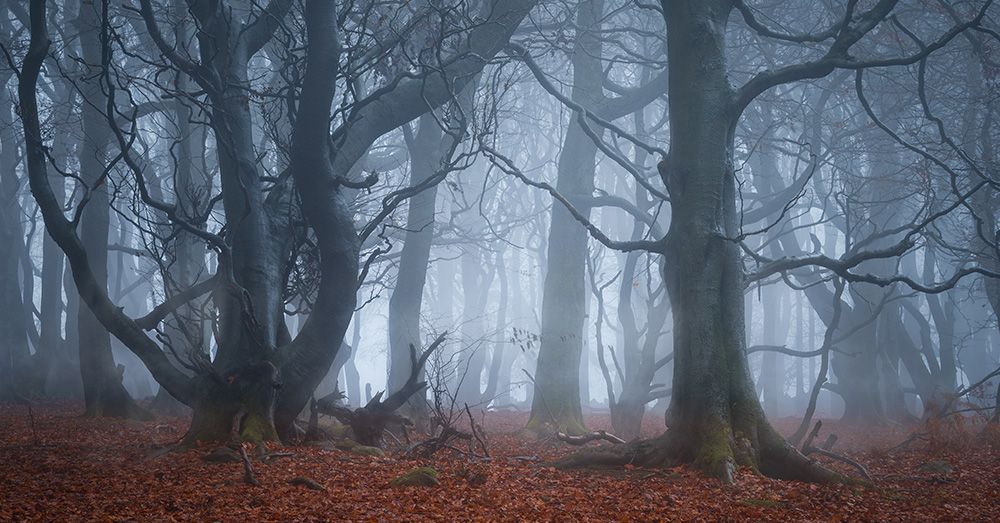
December 14th, 2025

If you’ve ever looked at a photo you took and felt like something was missing—but you didn’t want to rely on AI image generation to fix it—textures might be exactly what you’re looking for.

To help photographers experiment more creatively, I’m giving away 100 high‑quality texture images completely free. Just download the ZIP file and start creating.

Why Use Textures in Photography?

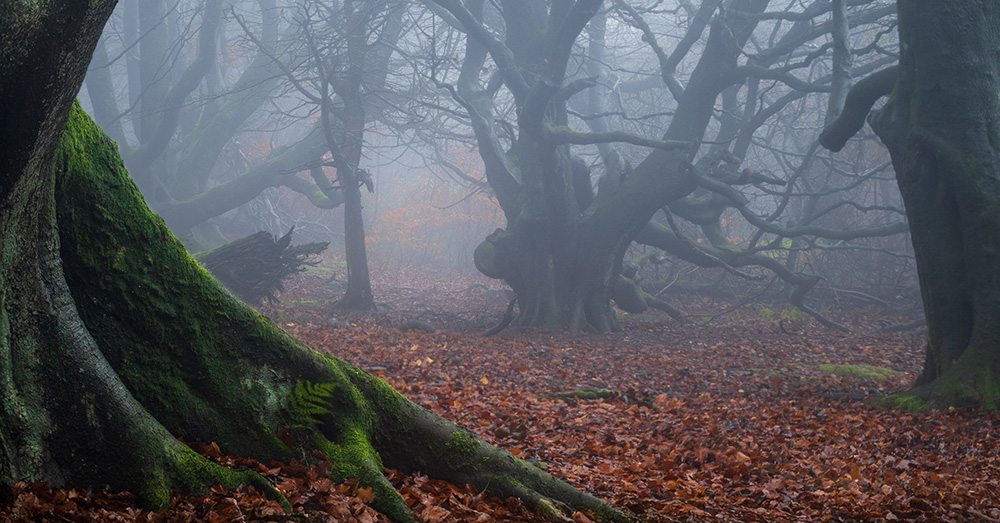
Textures are one of the most powerful (and underrated) tools in creative photography. When used as backgrounds or layered over existing images, they can add:

  • Depth and atmosphere
  • Visual interest and imperfection
  • A tactile, organic feel
  • Mood and storytelling elements

By blending textures with your photos, you can turn an average image into something far more expressive and artistic—while still keeping your work rooted in real photography.
For many creatives, this is also a great alternative to AI image generation. Instead of replacing or inventing parts of an image, textures enhance what’s already there, keeping your creative process hands‑on and intentional.


What’s Included in the Free Texture Pack

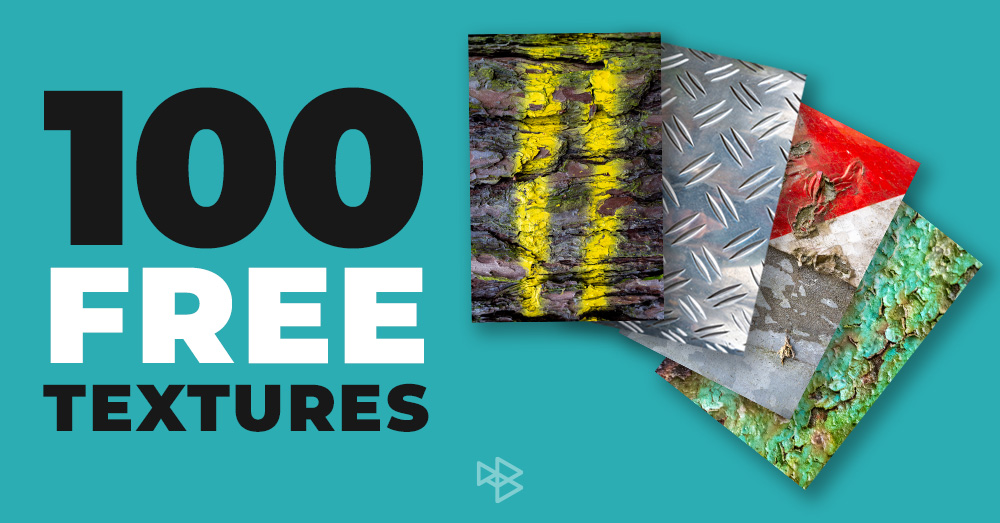
This free pack contains 100 high‑resolution texture images, carefully selected to give you a wide range of creative options.

You’ll find textures such as:

  • Stone and concrete
  • Wood and natural surfaces
  • Metal and industrial textures
  • Fabrics and soft materials
  • Subtle abstract and distressed surfaces

These textures work beautifully as:

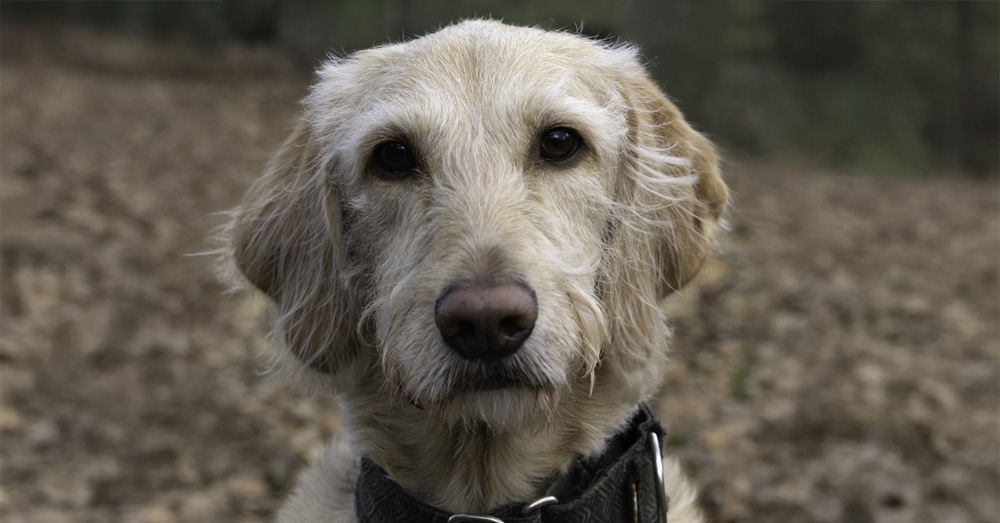
  • Backgrounds for portraits or still life photography
  • Overlays to add grit, softness, or atmosphere
  • Elements in multi‑layered, fine‑art style edits

All you need to do is download the ZIP file and start experimenting


How to Use Textures in Photoshop

This blog post accompanies my YouTube video, Using Textures In Creative Photography, where I walk through the process step by step.

In the video, I show you how to:

  • Import texture images into Photoshop
  • Stack textures using layers
  • Experiment with layer blend modes
  • Fine‑tune the effect using opacity settings
  • Combine multiple textures for a richer, more artistic result
https://youtu.be/OPrubA6X4I0

Once you understand these basics, the creative possibilities open up fast. A single texture can subtly enhance a photo—or completely transform it, depending on how boldly you use it.


Perfect for Experimentation and Personal Style

Textures are incredibly flexible. You can use them subtly for a barely‑there filmic feel, or push them hard for dramatic, painterly results. Because they’re real photographic textures, they blend naturally with your images and help you develop a more personal, hands‑on editing style.

Whether you shoot portraits, landscapes, street photography, or fine art, textures can become a signature part of your visual language.


Download the Free Texture Pack

The entire pack of 100 textures is completely free. Simply download the ZIP file, extract it, and start experimenting in your own work. Use them, remix them, layer them—there are no creative limits. Have fun!


TTArtisan 56mm f/1.8 Z Review — Foggy Woodland Photography Test

November 27th, 2025

If you like capturing woodland images, like I do, fog is pure creativity fuel. And when those conditions finally line up, you have to grab your gear and get out the door fast! Recently, I finally got those amazing conditions, and since TTArtisan had sent me their 56mm f/1.8 Z lens to to review, I thought I’d take it out and see how it performed for woodland photography.

Althought it’s clearly marketed as a budget portrait lens, I thought it would be fun to see what it can do in a moody woodland environment. Otis joined me too, of course — always the best model and assistant!

Because this is an APS-C lens, I popped my Nikon Z7 into DX mode, giving me an equivalent focal length of around 84mm. That’s actually a really useful focal length in woodlands — tight enough to pick out portions of the scene without everything becoming a chaotic mess. Off we went into the mist!

Build Quality & Design

The first thing you notice is that this lens feels great in the hand. It’s all-metal, made from aviation-grade aluminium. It’s not the absolute lightest lens in the world, but if you’re the type of person who likes a metal construction, you’ll certainly prefer this over plastic equivalents.

Main build features:

  • Manual focus ring is large and smooth with plenty of grip
  • No switches on the barrel — no AF/MF toggle, no stabilisation
  • Includes a square metal lens hood — very solid, great protection
  • 52mm filter thread
  • 10 elements in 9 groups
  • Compact size (for the focal length)

The bit that really impressed me? The rear lens cap doubles as a USB firmware dock! Plug it straight into a computer, update firmware, job done. It’s a genuinely clever design for a lens at this price.

Features & Handling

The f/1.8 maximum aperture is the star of the show here — ideal for portraits and low-light work, and capable of producing creamy, pleasant bokeh.

Other key specs:

  • Minimum aperture: f/16
  • Minimum focus distance: 0.5m
  • Silent STM autofocus — not lightning fast, but quiet and accurate enough for casual stills
  • Full-time manual override available
  • Focus throw is fairly long, so manual focusing takes a bit of rotation, but it’s smooth and predictable — very usable for video shooters, I’d say.

Real-World Image Quality

Let’s talk performance. The woodland shots were soft and dreamy by choice — fog, rain, reduced clarity in editing, and a polarising filter all worked together to create that moody look. Nice creatively… not ideal for judging optics.

So the next day, I took Otis to my local park for a proper sharpness test — no filters, no editing, straight from camera.

Wide open (f/1.8)

  • Centre sharpness: surprisingly good
  • Bokeh: smooth and pleasing
  • Corners: soft, as expected

Stopping down

  • By f/2.8–f/4, things noticeably improve.
 Corners sharpen up around f/5.6–f/8 — the sweet spot for overall sharpness.
  • Diffraction perhaps creeps in past f/11, but to be honest, it’s hard to tell.

Aberrations & distortion

  • Minor chromatic aberration — most noticeable in extreme high-contrast edges (easily fixable in post)
  • Very low distortion
  • Minimal vignetting
  • Honestly — better all-round optics than I expected at this price.

Final Thoughts

After a few outings, I’ve genuinely enjoyed using the TTArtisan 56mm f/1.8 Z. Despite being aimed more toward portrait shooters, it proved very capable in woodland photography too. Is it perfect? No.

Tiny niggles:

  • You can’t attach the hood with the lens cap on (slightly annoying for storage)
  • The rear cap/dock is brilliant… but also very easy to misplace once you swap lenses

But these are such small usability quirks that I’m clearly scraping the barrel for criticism.
Because here’s the thing – for around £150–£160, this lens is fantastic value.

If you’re shooting APS-C Nikon Z and want a fast portrait-friendly prime without spending big-brand prices, this is absolutely worth a look.

Who is it for?
Portrait photographers
, street / low-light shooters
 or anyone building an APS-C prime kit on a budget.

If you’d like to find out more about this lens, check out the video review of the TTArtisan 56mm, where you can also see more images and Otis in action!


Avoiding the Clichés in Woodland Photography

October 26th, 2025

There’s a common belief that woodland photography has become a little bit cliché. You know the look — misty, ethereal, soft light filtering through the trees. It’s that dreamy, almost fantasy-style woodland scene that fills our social media feeds.

And I’ll be honest, it’s a look I really like. In fact, it’s often the kind of image I go for myself. But I thought it might be an interesting challenge to see if I could capture a woodland photograph that didn’t rely on all those familiar tricks. So in my most recent video, I set out to do just that.

Setting the Challenge

I headed out to a patch of woodland at Langsett, near the edge of the Peak District. My goal was simple: get a woodland image without falling into the usual traps.

The first cliché I decided to drop was fog. Almost every woodland photographer (myself included) waits for misty or foggy conditions because it cleans up the chaos of branches and adds that moody atmosphere. It’s perfect for composition, but it’s also what everyone does. On this particular morning there was no mist, and I figured that might help my image stand out a bit.

Another habit of mine is shooting with longer focal lengths. It’s a great way to simplify a scene and focus attention, but again — a familiar approach. So this time, I committed to shooting wide. I wanted to include more of the woodland, clutter and all, and see if I could still make it work compositionally.

Looking for Something Different

As I wandered through the woods, I found a small cluster of mushrooms near an old tree stump. They caught my eye immediately. I thought they’d make a great foreground subject for a wider shot, but I knew it would be technically tricky. I’d need a large depth of field to keep both the mushrooms and the background trees sharp, so I decided to use focus stacking.

I swapped over to my Nikon Z 14–30mm f/4 lens and started setting up. I got down low, almost underneath the mushrooms, pointing the camera up towards the trees. It was an unusual angle for me, and I found it surprisingly refreshing. Using focus shift shooting, I captured a series of frames — starting on the mushrooms and gradually working my focus deeper into the scene.

Avoiding My Own Clichés

There was one more thing I decided to leave out for this challenge — my circular polariser. I usually rely on it in woodland scenes to reduce reflections and make colours pop, especially when the ground is damp. But this time, I wanted to avoid that extra saturation and sheen. I wanted to see if I could make something more honest, maybe even a little raw.

Time was short — I had to get back for work — so I packed up, hoping I’d caught something usable. But I knew the real challenge was still to come: editing.

Editing Against Instinct

A lot of what makes woodland photography look “cliché” actually happens in post-processing. The soft glows, the faded light, the warm tones — all of it contributes to that familiar dreamy look. So I decided to do the opposite.

Normally, I’d edit with a lot of dehire, adding gentle contrast and warmth while gradually fading the image into the distance to create depth. This time, I pushed the clarity, boosted the contrast, and kept the detail sharp from front to back. The result? Bold, saturated, punchy — and completely not my usual style.

I have to admit, it felt strange. Editing against instinct is uncomfortable, but that’s kind of the point of a challenge like this.

The mushroom shots probably worked best out of the set. The extreme depth of field from the focus stacking gave it a slightly surreal quality — almost like an AI-generated image, even though it wasn’t. I did use a bit of Photoshop’s generative AI though, to tidy up the edges where the focus stack hadn’t quite blended properly, just to clean up some of those blurry transitions.

What I Learned

I can’t say these are my favourite images. I still prefer that softer, painterly woodland look — cliché or not. But this exercise taught me a few things. I really liked working with strong foreground interest, and that ultra-detailed, focus-stacked style has potential. I just think it’ll work better under the right light, and edited in the gentler, more atmospheric way that I naturally gravitate toward.

The main takeaway for me is that it’s okay to embrace clichés if they help you make images you love. Photography is, after all, a personal expression. Whether you’re deliberately avoiding trends or leaning right into them, the only thing that really matters is that you enjoy the images you make.

So next time you’re out in the woods — mist or no mist — just shoot the scene the way you want to see it.

You can see the video that I captured on the morning here.


Photography on a Hike with the Nikon Z30

September 21st, 2025

Earlier this week I headed out for a hike in the Peak District near The Roaches. It wasn’t just about the walking, though — I wanted to see how well a lightweight setup would work for photography on the trail. My kit of choice was the Nikon Z30 paired with the Nikkor Z DX 18–140mm lens.

This combination turned out to be a versatile companion for hiking. Below, I’ll share some thoughts on the setup, a few tips for shooting while out on a walk, and some reflections on balancing photography with the actual enjoyment of hiking.

(more…)

10,000 Subscribers – Thank You!

June 26th, 2025

I honestly can’t quite believe it… 10,000 subscribers!


When I started my YouTube channel in 2020, I never imagined it would grow to this point. I was so naive back then that I once published a video when I made it to 100 subscribers, giving advice to others on how to do the same! A year or two later, hitting 1,000 subscribers was a huge milestone, and now here we are—ten times that! It’s both humbling and exciting, and I just wanted to take a moment to say a massive thank you to every single one of you who has supported the channel.

(more…)