How to print custom page sizes with the Epson XP-970
I have a few photography printing videos on my YouTube channel and one of the questions I get asked most is; How do you set up the Epson XP-970 to print custom page sizes.
It’s actually quite simple, and I’ll explain the steps to do it below. A couple of things to note first though; A. You have to use the rear, manual paper feed and B. You have to print from a computer to the printer (not directly from the printer). I am using Lightroom on an Apple Mac computer, but it should be similar steps when using a Windows PC and/or your software of choice.
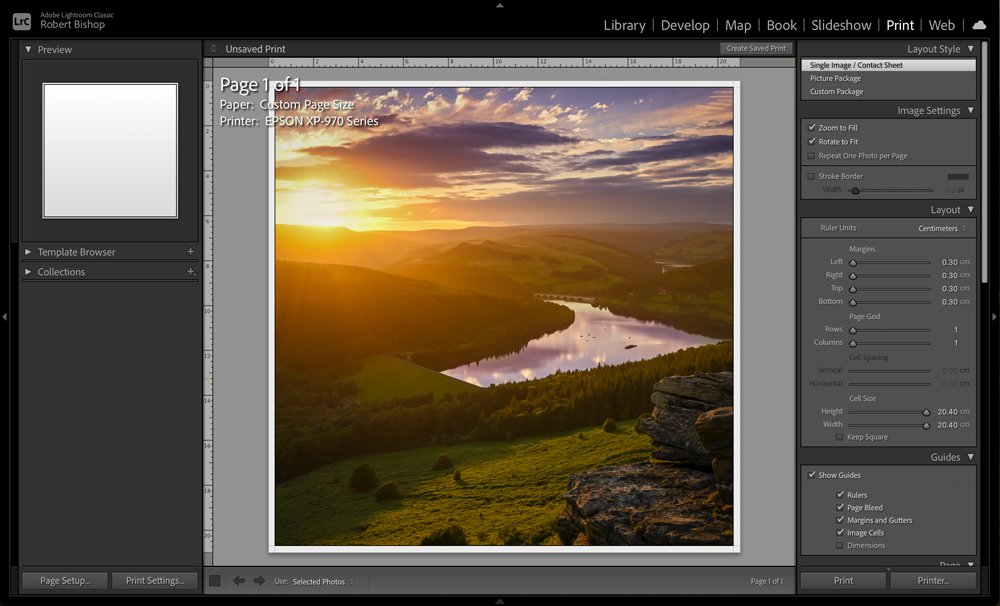
1. Select Page Setup

In Lightroom this is located in the bottom left corner of the screen after you have selected the ‘Print’ tab in the top right.
2. Select Paper Size Options
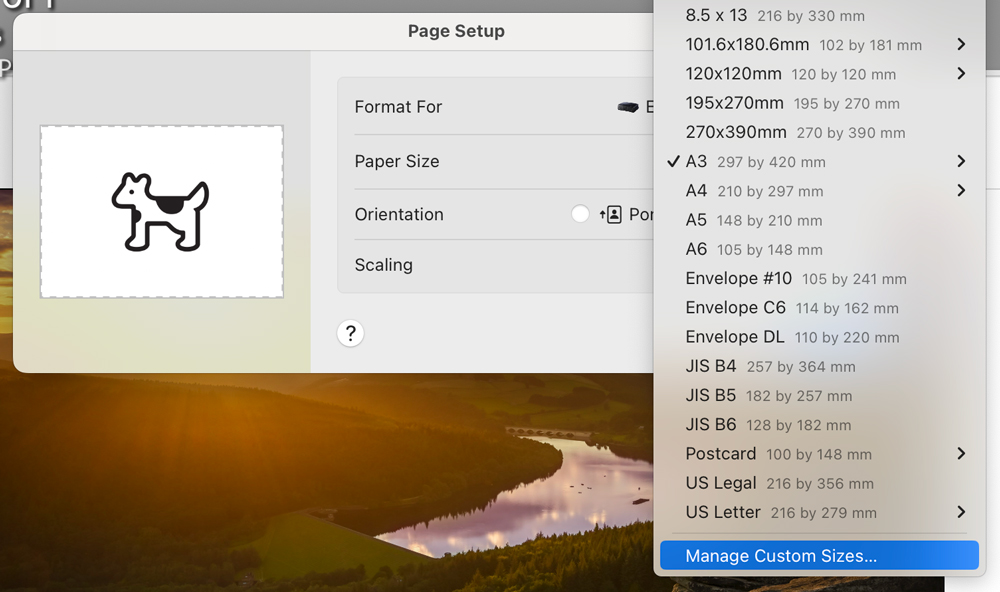
In the window that opens, click the dropdown next to ‘Paper Size’. Right at the bottom is ‘Manage Custom Sizes…’. select this option.
3. Create a Custom Paper Size
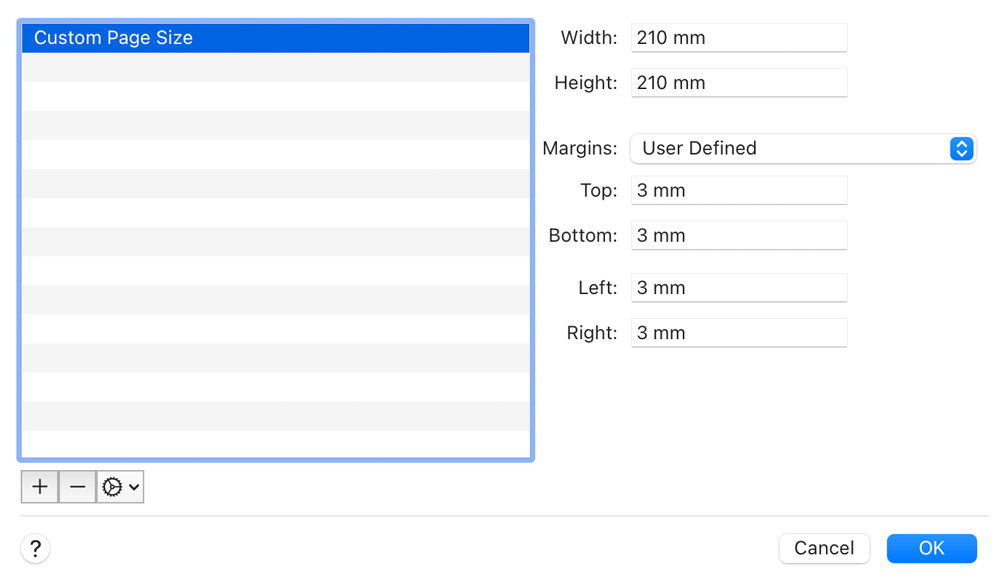
In the next window that opens, click on the + symbol in the bottom left. This creates a new profile and allows you to fill in the input boxes on the right of the window. Type in the width and height of your paper. You can also input margin sizes here, for space around your image. Click ‘Ok’ when done.
4. Send the Job to Print
Select any other print options as required and send the job to the XP-970. The printer will prompt you to insert your paper.
It’s as easy as that. I also have a video on how to set up the Epson XP-970 to print custom sizes.
Go back to main blog page
Leave a Reply